Editor’s note: This post was updated July 24, 2020.
If you’ve landed on this blog post, I don’t need to tell you that striking visuals are critical for marketing your SMB. But just in case you need some convincing, consider that blogging and social media are now the most commonly used formats for content marketing.
It’s well established that blog articles and social media posts perform far better when paired with visuals, but content marketers suffer from small budgets and big expectations.
Is social media worth it?
No matter how you look at it, maintaining a positive presence on social media is an uphill battle, especially for small businesses who don’t have the resources to devote one or more full-time employees just to social media.
So, what’s the secret? Success comes from a combination of factors, including the quality of the content and graphic design itself, the underlying marketing strategies (think: giveaways and crowdsourcing), the product and timing.
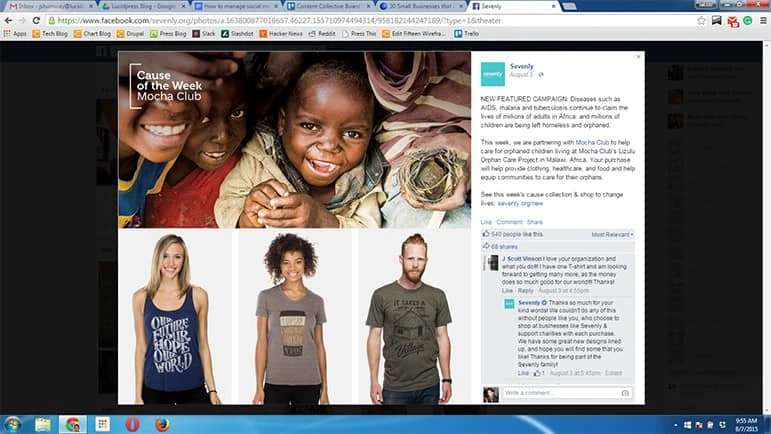
When these factors do work together, social media can change the very fabric of a company’s marketing strategy. For instance, t-shirt maker Sevenly donates to charity for every shirt sold. The company teams up with multiple charities and causes and designs a unique t-shirt to match.
Their posts on social media tend to be well-shared, since individuals who can’t afford to donate can help the cause by simply sharing the post:
The point is that social media content will only be as effective as your business model and marketing strategy empower it to be. Once you have that strategy in place, supporting and implementing it on social media is actually the easy (and fun) part.
5 graphic design tips to get your started
1. Have a goal
Every social media account should have an overall goal, and every post should have an individual goal. Think of the account’s goal as an overall theme your followers can expect you to follow. For example, will your Instagram feed be used to showcase graphics of your latest products or to share informational content related to your brand? Or are you creating a community for your customers to interact with your brand and with each other? Define this theme along with your target audience. Each individual post should contribute to this overall theme and drive measurable metrics for your brand: engagement, clicks and purchases.
2. Be creative
Whether you’re an experienced designer or not, everyone can be creative when creating social media graphics. Incorporating storytelling techniques is a great way to do this. Think about who the main character is, what the problem or challenge is that they are facing and how they are solving it. Then tell that story visually.

Source: Pinterest
3. Remember design best practices
Social media graphic design follows a set of best practices that will make your designs pop. When selecting color, be sure the colors you choose contrast enough, so the content is easy to read. Experimenting with fonts is a great way to add some playfulness to the post’s design, but be sure it is still legible. Balance out fun fonts with a second, simple font. Overall, keep the design simple so your audience will understand the message you’re trying to get across.
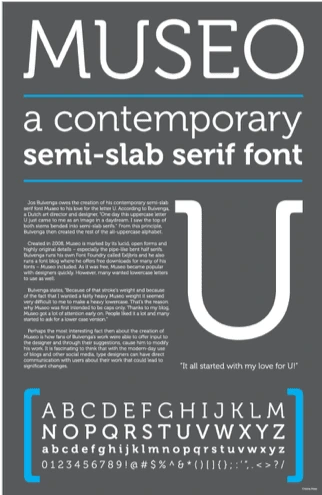
This informational poster is a great example of font utilization.
4. Be consistent
Social media is a great way to build your brand, but only if the social media designs you create are consistent with that brand. Be sure to incorporate your brand’s colors and fonts into your social media designs and avoid any content -visual or otherwise- that doesn’t accurately reflect your brand. Learn more about social media branding.
5. Use the right tools
With the right tools, even non-designers can create stunning social media graphics. Here’s how you can create awesome graphic designs for your social media sites in just minutes.
Step 1: Pick a template
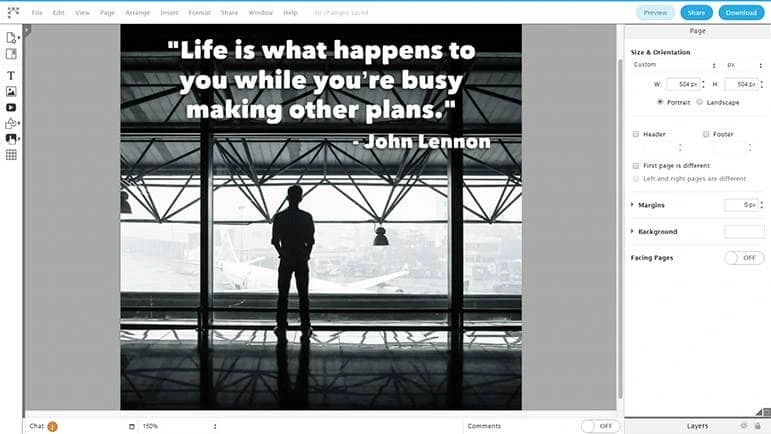
After logging in to Lucidpress, click the drop-down arrow next to +Document to view our free templates. Click Social media, then pick the template that corresponds with the social media site you’ll be posting to (this ensures that the image has the correct dimensions).
Alternatively, you can save time by creating a single document, then linking back to it in each of your posts.
I’ll be building my content from this Facebook post template:
Step 2: Customize
In this step, switch out the template’s content with your own. Then, adjust effects, fonts & positioning to get the perfect layout.
Since I want to emphasize my product’s creative capacities, I’m going to make a meme about the power of imagination.
First, I double-click to replace the text with my own. I test out several fonts before selecting Hill House. Next, I delete the background photo. After dragging and dropping an image I found on Pixabay onto the canvas, I right-click it and select Send to back so it doesn’t cover my text.
Finally, I add a text box on the bottom right to include our brand. Now it’s ready:

Step 3: Publish & share
Before you can share your document on social media, you’ll need to publish it with a unique URL. Click Share in the top-right corner, then click Publish under the On the web tab. Finally, go to the On social media tab to share your brand-new content on Facebook, Twitter, Google+ or LinkedIn.
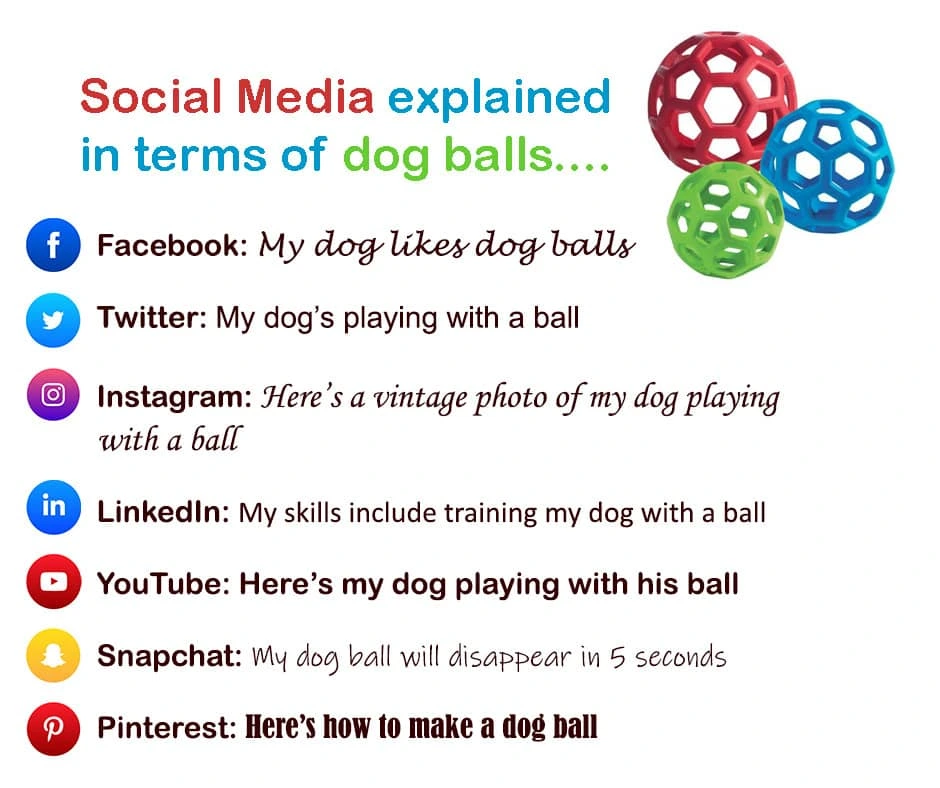
Type a short, custom description for each post you make. If you’re not sure how to adapt your post’s text for each site, consult this now-famous comparison of social media sites:
And that’s it! You’ll be creating and sharing social media posts like a pro—without spending hours in complicated design software.
