No matter what type of menu you’re making, there are going to be different options on it. There might be appetizers, entrees, desserts, or even specialized cocktails. Whatever they are, your customers will want to review all the choices available to them. This determines the type of menu you need as well as the style you choose. For example, a small menu may benefit from a very modern look with lots of white space and a striking font. A large menu will likely be more compact so it doesn’t run to too many pages.
How to make menus
It’s easy to overlook your menus—but doing so means you’re giving up an opportunity to make a diner’s experience even better. Give them the time they deserve, and you’ll be glad you did. Our menu templates are professionally designed and easily customizable. Get started today, and you’ll have a great menu in no time.


Haven't signed up yet?
Give us a try.
 Sign up with Google
By signing up you agree to our Terms of Service and Privacy Policy
Purpose of a menu
Menus are meant to do one thing: show guests what food & beverage options are available. Whether in quick service or elsewhere, a menu should be clear, concise, and support the decision-making process. Keep this in mind while you’re designing your menu.
How to make a menu
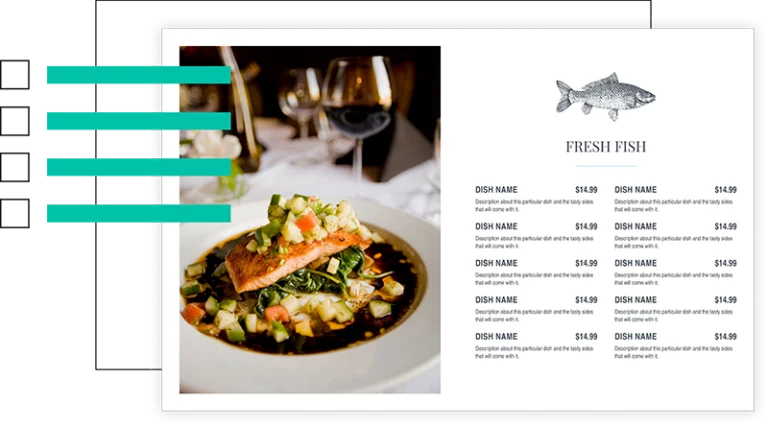
Step 1: List all available options
Step 2: Choose a menu theme
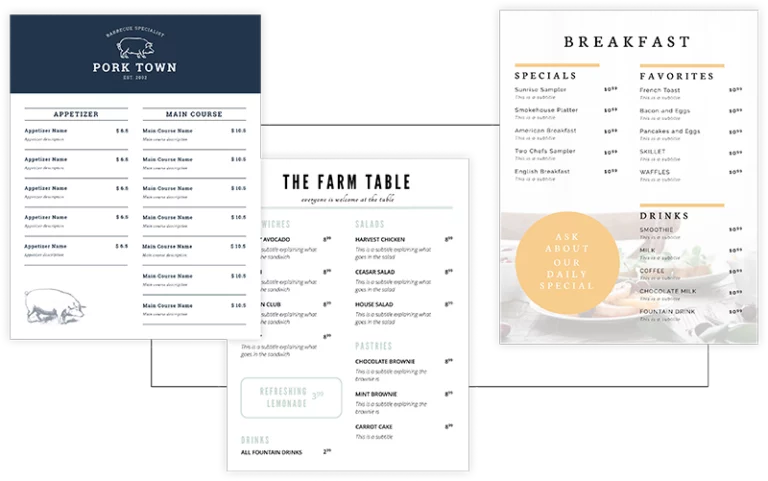
Your menu’s theme sets the overall tone. A tropical theme might include lots of bright colors, fun fonts and vivid pictures. A formal theme is more likely to feature subdued colors, white space and simpler fonts. The theme you choose could match your business—a Thai restaurant would have a different menu than an Italian eatery—or fit the type of clientele you hope to attract. Think about what your customers will be seeing, feeling and wanting when they look through your menu. Then consider how you can best serve their needs.
Step 3: Add images & photos
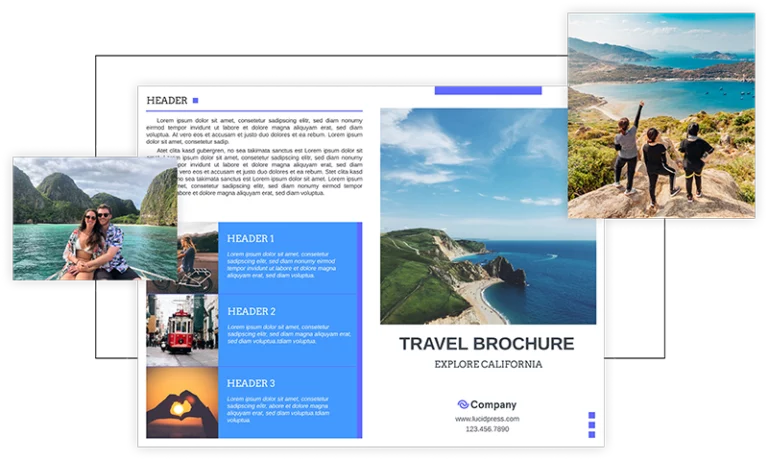
Especially in the restaurant business, pictures can make or break your menu. Getting a professional food photographer to take pictures of your offerings is a great idea—they’ll know how to get the best lighting and angles to show off the food on the menu. The more appetizing it looks, the better. Other businesses can use images on their menus, too. A salon could show pictures of different haircuts, for example. A spa might include pictures of services or of the facilities involved. Again, think about your customers. What might they want to see? What will entice them to order?
Step 4: Make the menu
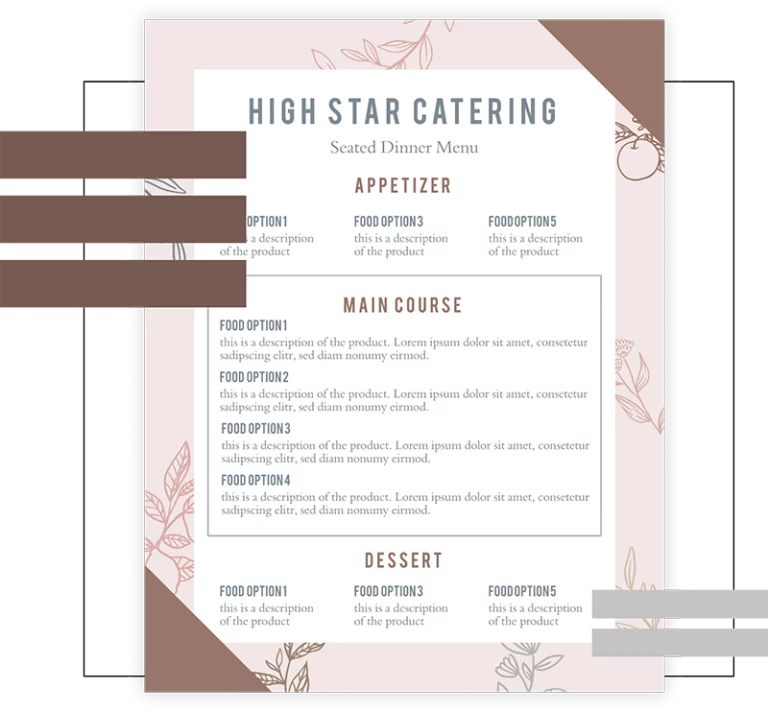
Now that you have your menu’s content, theme and imagery, it’s time to put it all together. Spend a moment thinking about the right order and placement for everything. Restaurants almost always have appetizers listed first, but what if you’re designing a menu for a coffee bar? What will customers be likely to order first? Continue down the line until you’ve put all of your items in the menu, then add images to highlight your best offerings.
Step 5: Test your menu
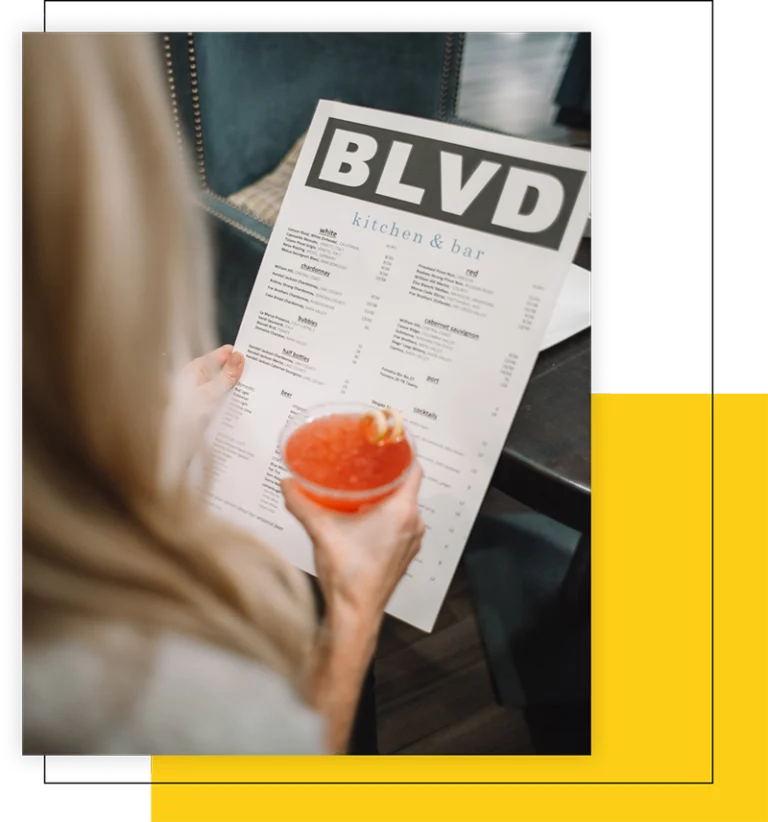
No matter how much thought you put into it, there’s a good chance your customers will think differently about some of the decisions you made. Maybe they want images displayed differently, or they think the language you used to describe each option is confusing. Testing your menu is the only way to solve these problems. Find members of your target market, and ask them what they think. Compile some feedback, and make tweaks to your menu. After you’ve done this a couple times, you’ll be ready to debut it in your business.
Ready to make your menu?
Our menu templates take the hard work out of the design, layout and theme. Because they’re all professionally designed, you can be confident that they’ll look great, no matter what type of menu you’re looking for. Plus, it’s free to create with Marq. Why not start making your menu right now?
